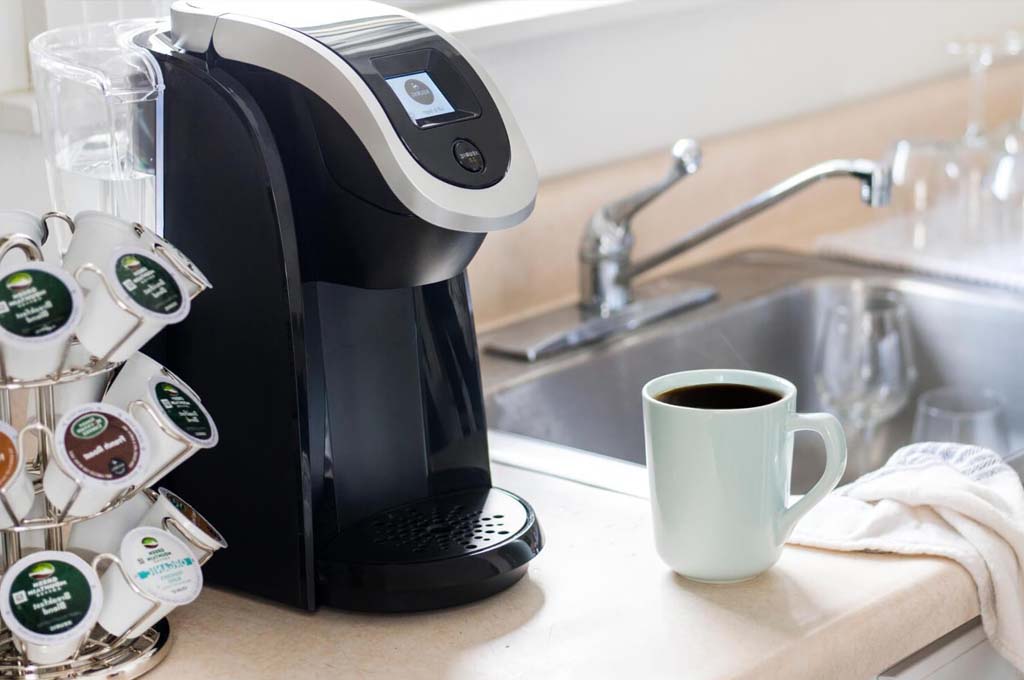
If you are a proud Keurig owner, you know, that it isn’t possible to say that everything is simple with this machine. For example, many of us are totally perplexed with how to drain a Keurig. Usually, after checking, you are under the frightening impression that it is necessary to take the entire thing apart. Before you see detailed instructions on how to empty a Keurig, we would like to remind you that the average lifespan of coffee machines is somewhere between 7 and 10 years. To use your Keurig as long as possible it is necessary to know how to drain the coffee machine correctly.
Why Drain Your Keurig?
Every coffee maker has a little internal tank with about one cup of water. It is what enables the machine to answer your request so quickly. If you leave for holidays and leave the water for days, it will become an ideal environment for the development of bacteria and mold. And second, if you store the machine in a cold place, there is a risk that the water freezes and damages the entire appliance.
How Often You Need to Drain Keurig?
If you are using the appliance daily, you don’t have to worry about emptying water from Keurig. However, it is necessary to clean and descale it regularly. Ideally, you should clean the outside of the device at least once a week. The manufacturer recommends that you descale the machine every three or six months. But if you are leaving for a week or so you need to drain it.
How to Drain a Keurig Coffee Machine?
Before talking about how to drain a Keurig for storage we would like to point out that this process will depend on the model. This text aims to answer the question of how do you drain a Keurig. Hopefully, these little tips will help you learn how to get water out of Keurig.
How to Drain a Keurig 1.0
- The entire process can take up 5 – 10 minutes.
- You need a flat–head screwdriver, needle-nose pliers, and a plastic straw.
- When you have all the tools, open the pod compartment by lifting the handle. You will see two screws – one at 11:00 and the other at 13:00. Unscrew them and remove the top part.
- You will see the two tubes that are connected to the internal tank. One has a shape like a letter L. The other comes out of the top. Make them loose using the needle nose pliers; then remove.
- Turn the machine upside down so the water can go out of the L shaped opening. Put the straw into the opening to help air while taking out the water.
- Assemble the appliance back together.
Read our Honest Review of the Keurig K-Classic Coffee Maker
How to Drain a Keurig 2.0 for Storage
- It will take a bit more time, 10 – 15 minutes.
- You need a Phillips head screwdriver, needle–nose pliers, and plastic syringe.
- When you lift the top, take off the chrome ring.
- After closing the handle, invert the appliance, and unscrew six screws at the bottom.
- Slide off the silver piece, and then the front of the machine.
- Put it back in a regular position that is near the top of the tank. Take a tool that resembles the spatula. Use it to take out the top collar of the machine.
- Take off the exterior wrapper.
- Disconnect the three clips that hold the inner reservoir and disconnect it from the tubes. There will still be water in the black piece you took out. Press in the middle to drain it.
- Turn the machine to another side and take out the screw on top of a whitewasher. You can take out the tank.
- Turn it back to the motherboard side and disconnect the filter from the pump. Now you can empty the filter.
- Disconnect the tube on the top of a reservoir.
- Disconnect the tube that goes from the pump to the tank and water will come out in the stream.
- Use the syringe to take out the remaining water.
- Reassemble the brewer.
How to Drain Keurig K15, Mini Plus or Keurig Mini
- This method will take about 5 minutes.
- Keep the machine plugged in, but switch it off.
- Position a mug under the brew head. Make sure that it is large enough to pick up all of the water.
- If there is water in the tank, it will go to the internal reservoir once you lift the brew handle. It will be drained through this interior hot water tank. If there is a lot of water it needs to be repeated several times.
- Close the handle and press the brew button. After five seconds the water should start to go into the mug.
Can a Keurig Be Drained Without Disassembly?
Yes, you can do this without any tools and fast – from 5 and 8 minutes. Moreover, it is very convenient when you need to figure out how to store a Keurig quickly. Draining a machine without previously disassembling is essential when you need to know how to drain a Keurig K40.
- When the machine finishes brewing and empties the tank, the LCD will show the message “Prime”.
- When the reservoir is empty you can adjust the float. Pull the magnet to reach the top and press a bit so it can stick. Close the tank.
- Put the mug under the spout and press the brewing button.
- The machine finished brewing when it displayed the message Prime. Sometimes, the unit will display the message requiring more water. When this happens, you have to repeat the process.
- When your Keurig displays Prime again, it means that the machine is totally drained.
A Note on the Warranty
You must know that your Keurig will not be under warranty once you open and disassemble it. Most appliances have a 12 monthly warranty in general.
Conclusion
And that’s all there is to know about how to drain a Keurig! Whether you have Keurig K-Mini or K560 or another model, now you know how to empty water from Keurig’s internal reservoir. Keep in mind that this is necessary to do when you know that you won’t be using your machine for some time. It is important to remember that disassembling the appliance means it will no longer be covered by the warranty. Hope that we’ve helped you learn how to drain your Keurig! Feel free to share with us your experience with draining it, and whether you have any more questions!